

How to use the products in the PavePad series – 10 Rules of Thumb


• Before starting a roof terrace project, its always a good idea to make sure to avoid the most common challenges of construction and the potential small errors of detail.
• Below, we have listed the 10 most important things to remember, when you are building your roof terrace with the PavePad system.
• If you seek inspiration for your project, before you start, you can look at our collection of terraces, built with PavePads or you can take a closer look at how to build wooden terraces.
• You do not need a lot of tools to work with the PavePad. Check the list here to ensure you have what you need, before you start your project.
If you need advice or help, working with PavePad, you are always welcome to contact us or see our installation guides for video guides of different construction methods.
Enjoy!
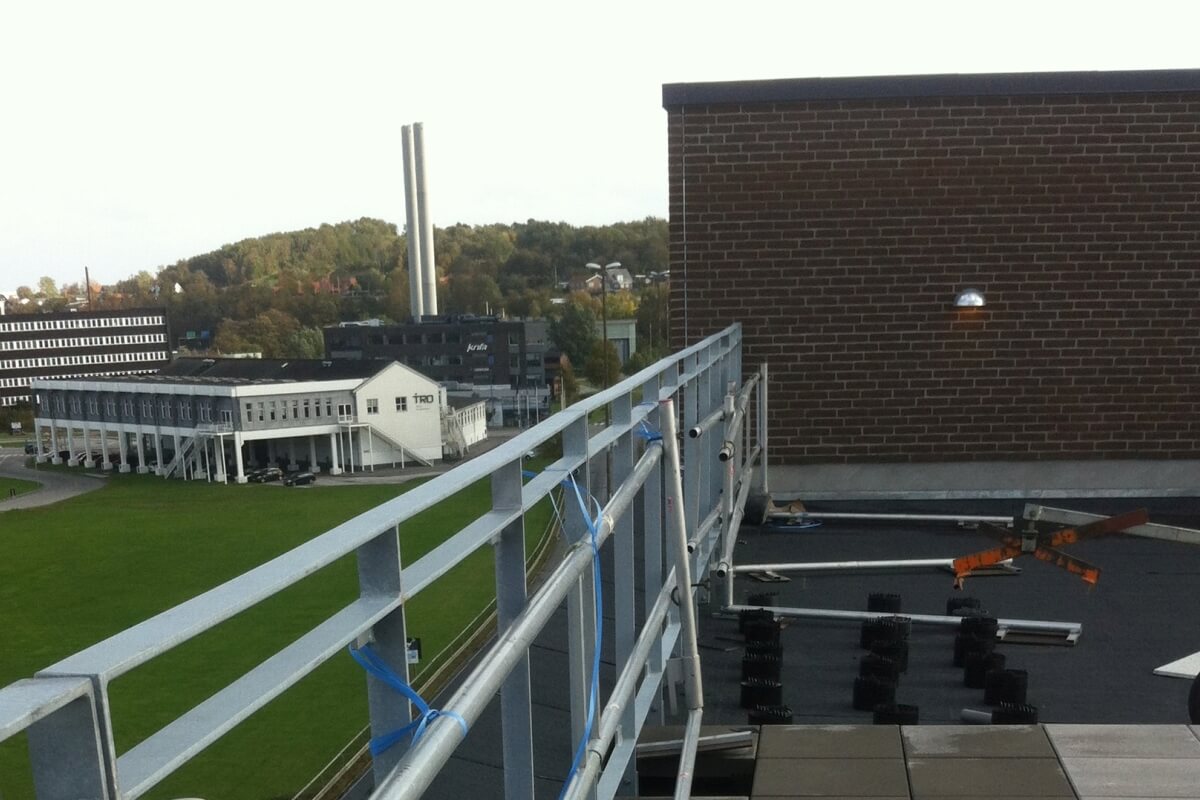
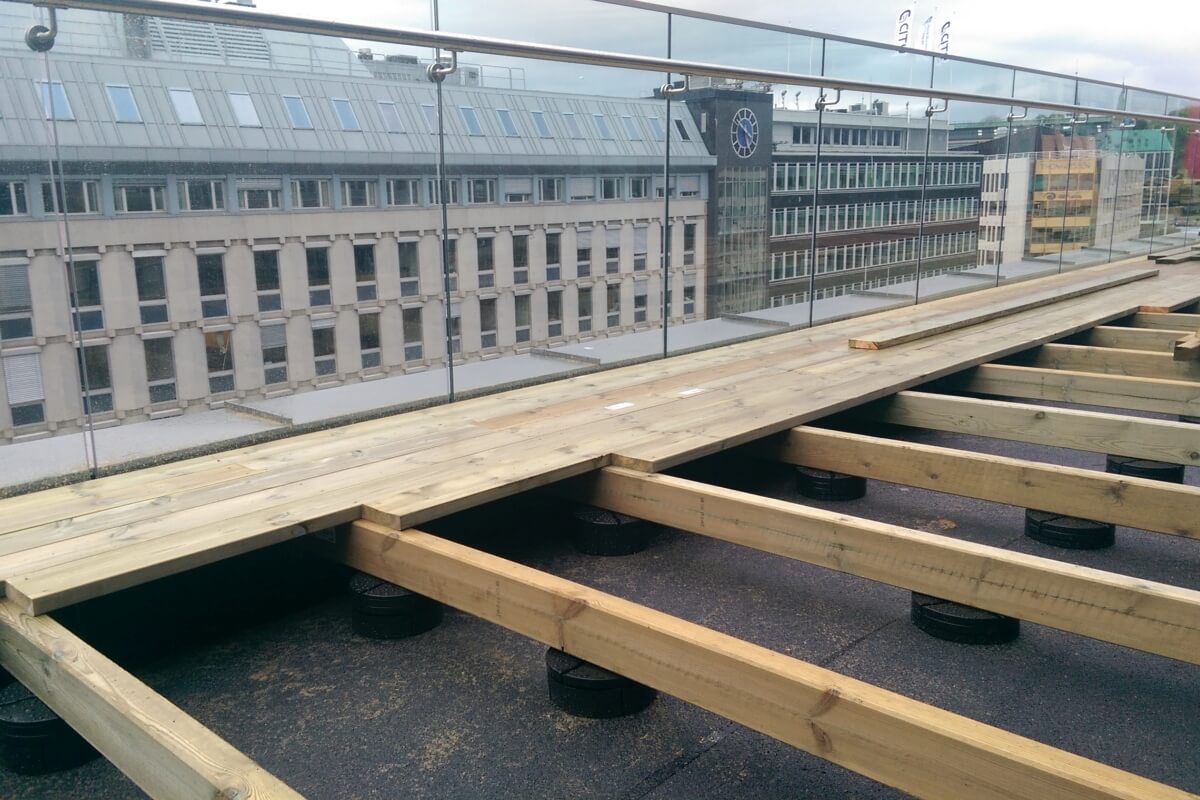
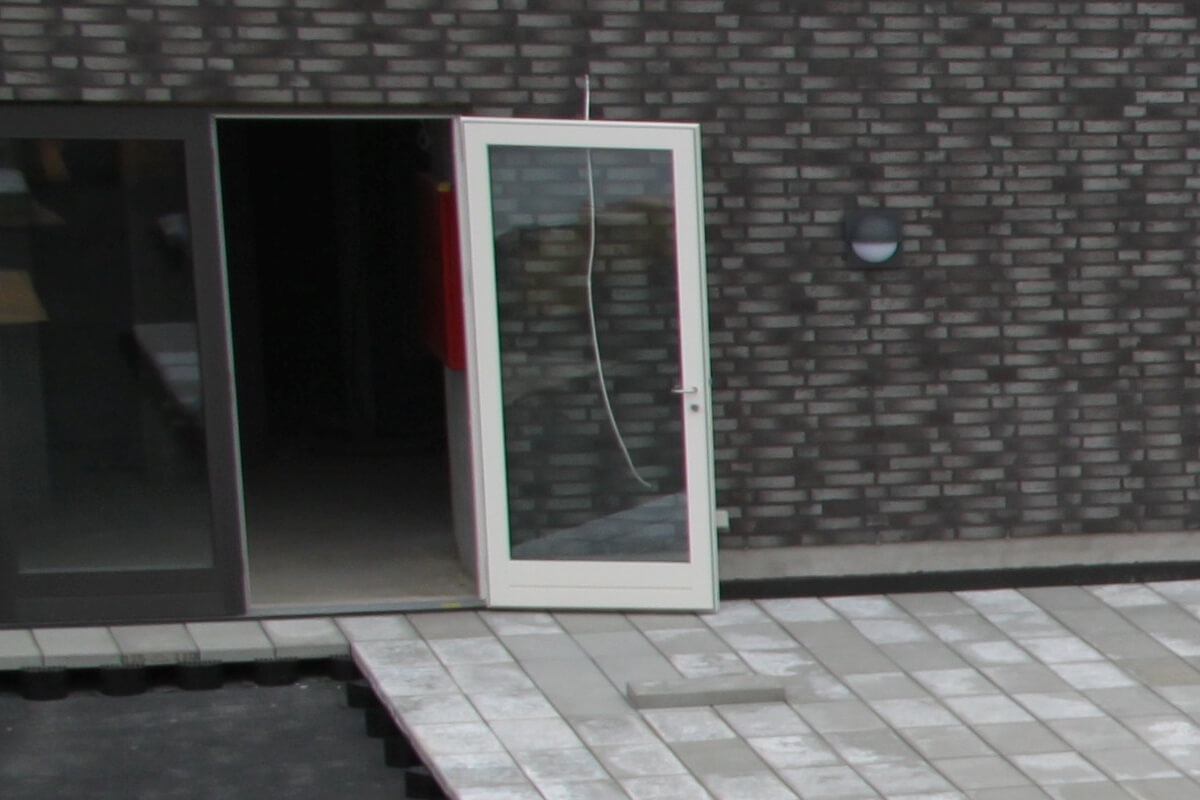
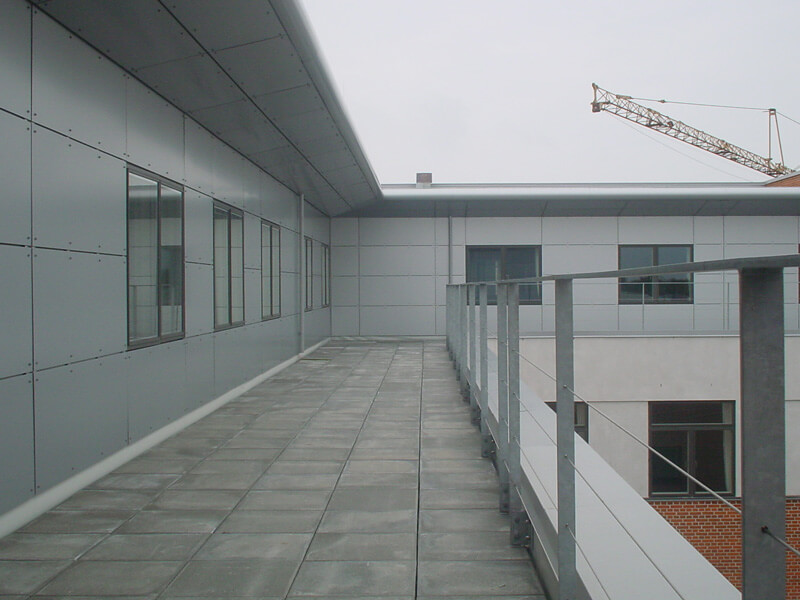
A roof top terrace must be closed at the ends, ie. surrounded by wall, wood, safety glass, or steel. Think about how you want to use the terrace: If you wish to enjoy the view as much as possible, glass can be a good choice for your barrier. If you want more privacy, a wall or a wooden fence can be ideal. The type of barrier you choose, can affect the size of the floor surface itself, so keep that in mind when planning your project.
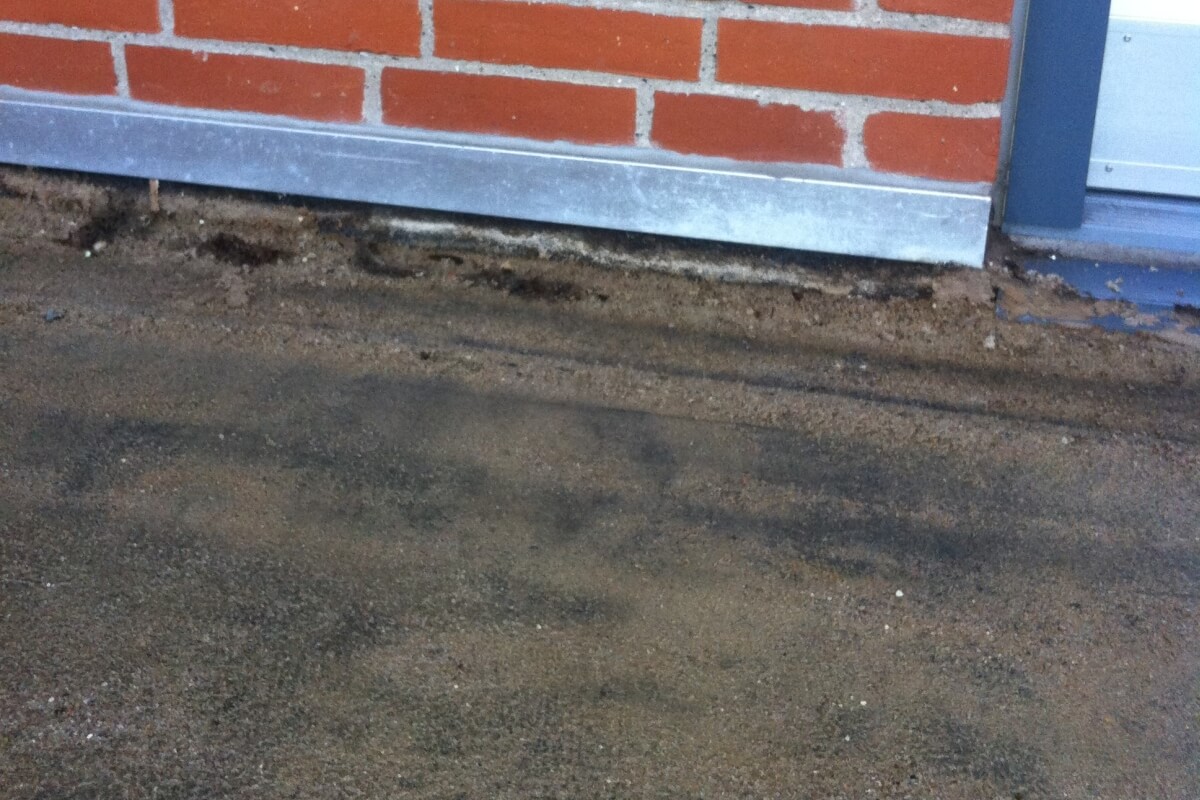
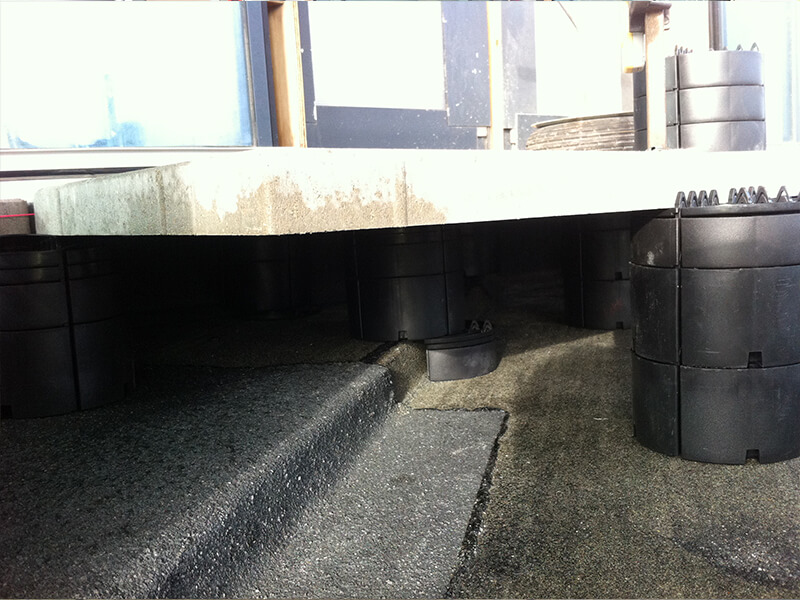
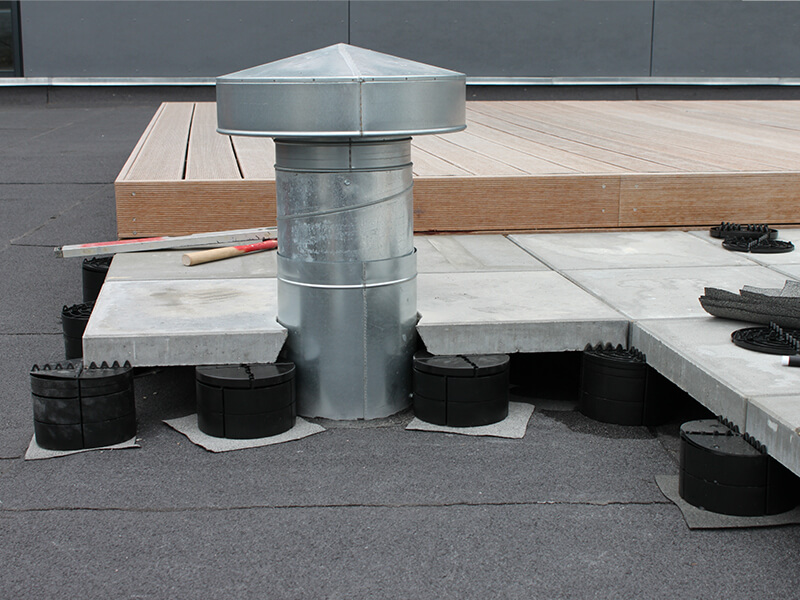
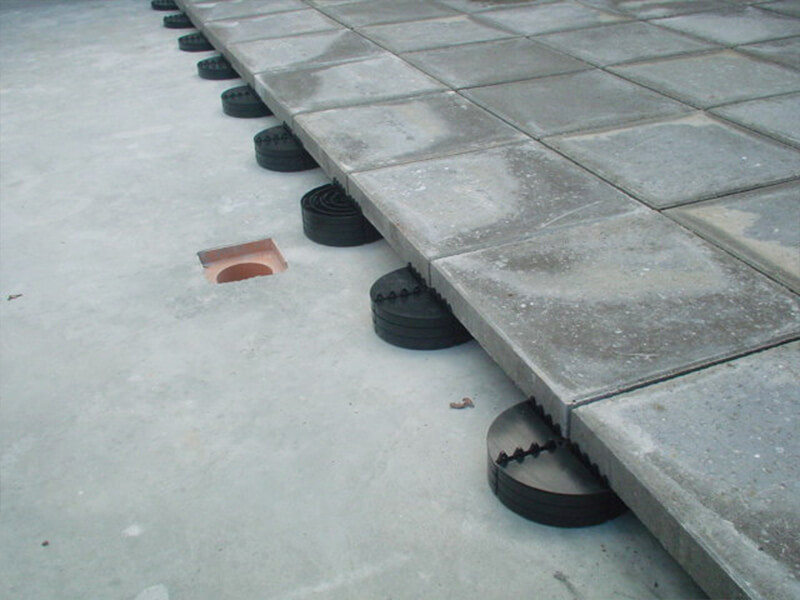
Always begin your project with a PavePad 15 mm when building roof terraces. 15 mm is the minimum height. This prevents the collection of dust and dirt underneath your terrace. If you have trouble getting the right height for 15 mm, you might consider using a slimmer tile/composite/wooden plank to even out the height difference from the first or second row from the wall. For example, choosing a 40 mm tile instead of a 50 mm, for the first row. There can also be variations in the strength of material in general. See alternative solutions and get inspired in the gallery. the technique gallery.
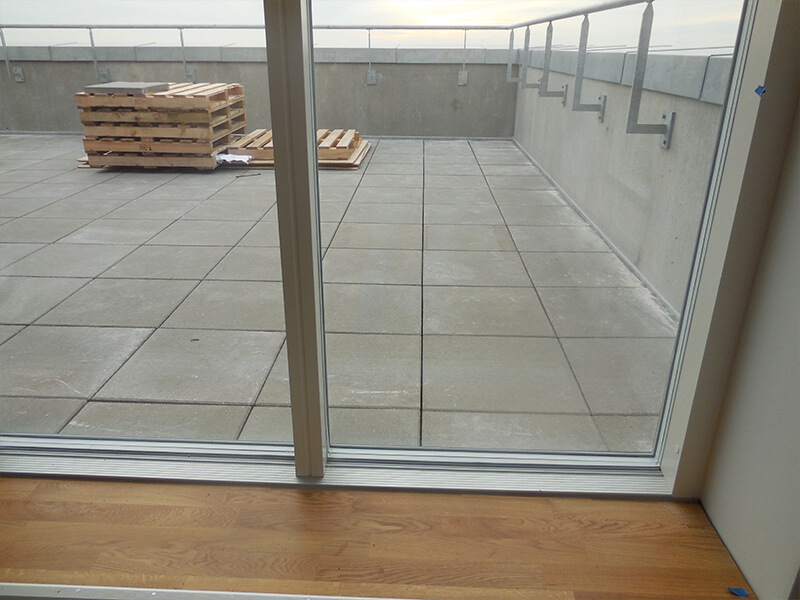
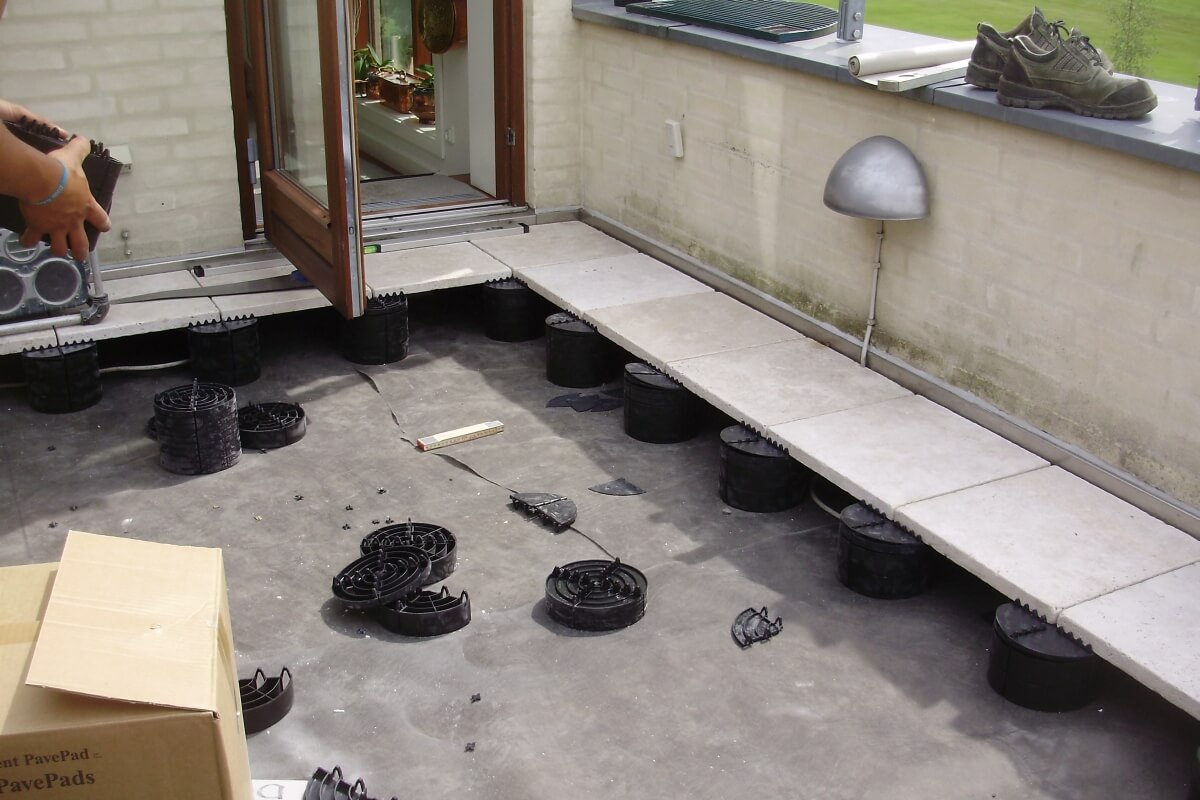
It is a good idea to start your build up near the terrace entrance or at the tallest point of the terrace, as this is usually where the lowest ground clearance is. It will ensure that you do not build the deck too high. This also ensures that you have whole tiles lying by the door, giving the best first impression of the terrace, when you walk out on it. Use the PavePad size which will be closest to your chosen deck height. Thus, you use fewer pads, save money, and the best building-economy is achieved.
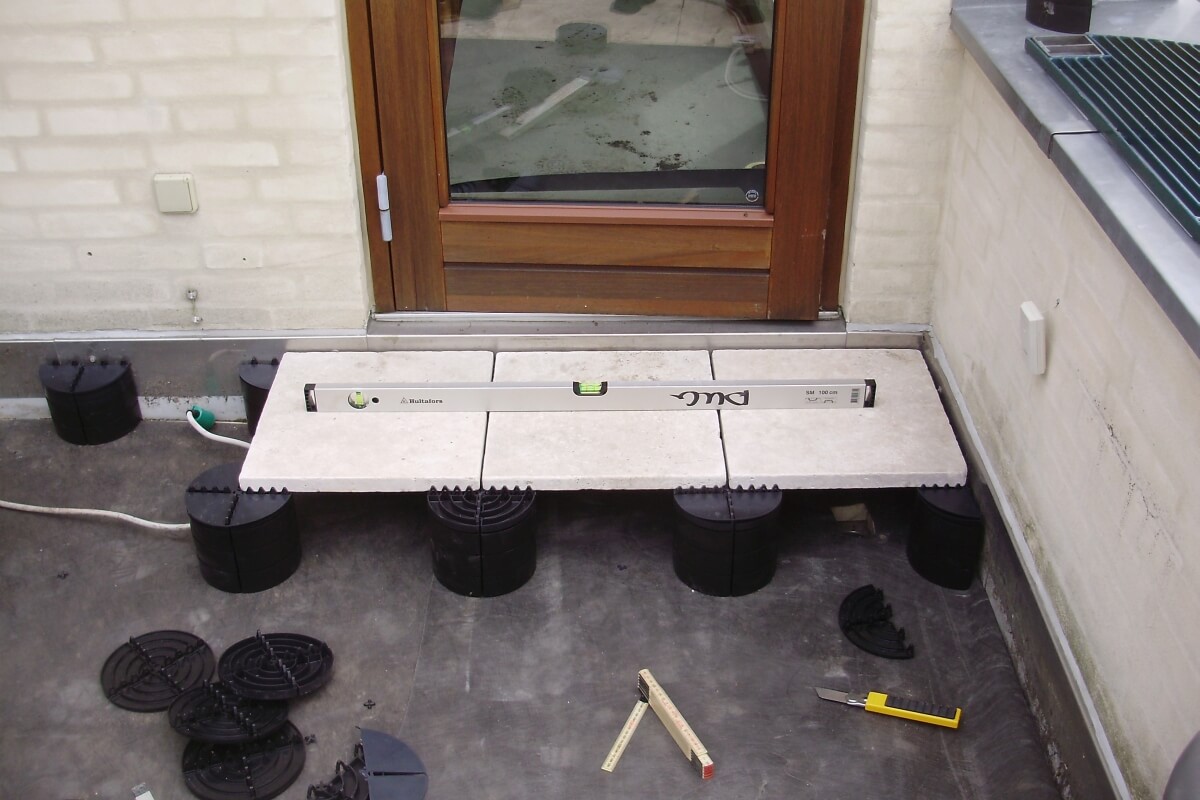
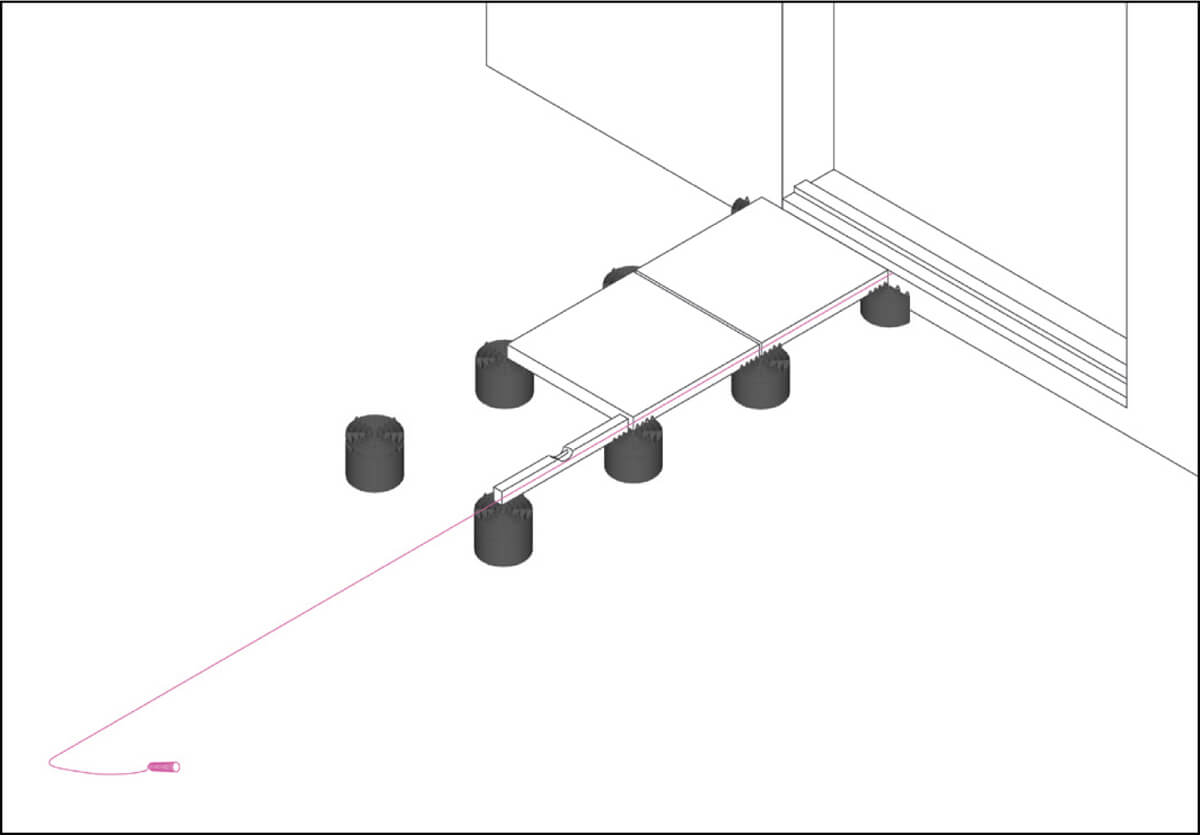
First, place a row going straight out in a line. Second, make a row going to the side (towards the nearest wall or barrier). This creates a diagonal for the pattern and provides the first experience with the load-bearing capacity of the substrate. Note: See more about base layers at the bottom of this page.
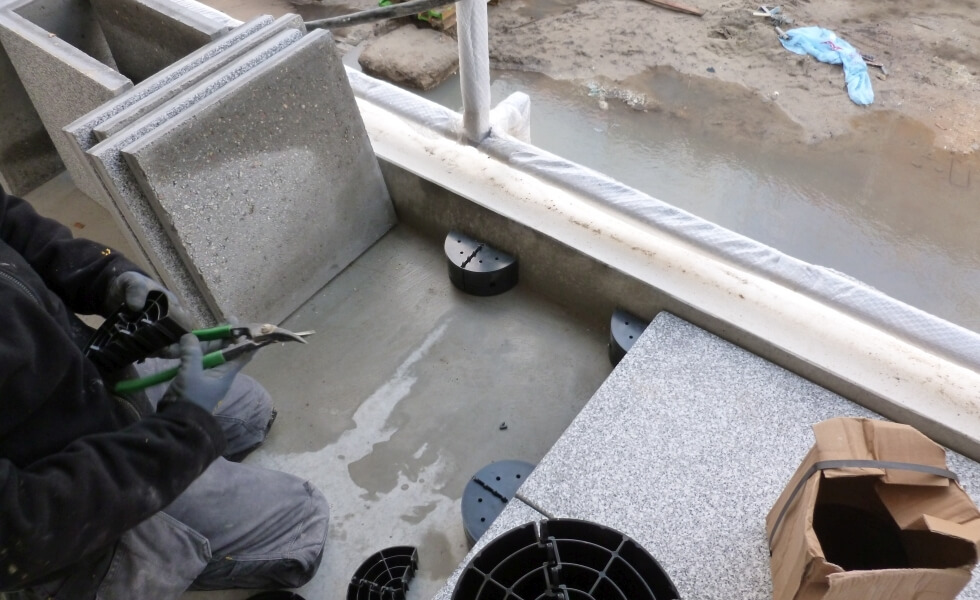
If you use natural tiles, granite tiles or other manually cut tiles, you can use Shims to correct both the unevenness of the substrate and the coating. Watch this technical video on adaptation to different tile heights. Remember that a maximum of 4 Shims may be used per PavePad surface. If more is needed, use PavePad 7.5mm instead (it’s cheaper). We recommend that you cut your shims for the greatest accuracy. If 4 tile corners of different heights meet on a PavePad, you can use Shims to support them all equally both at the top and bottom.
A roof can have dents and sudden changes in shape. There are many creative built-in solutions in the PavePad system that allow for bottom, middle and top corrections. Watch this technical video for guidance on how to build bridges over ditches, for example. Or ask us for advice and we’ll find a solution together.
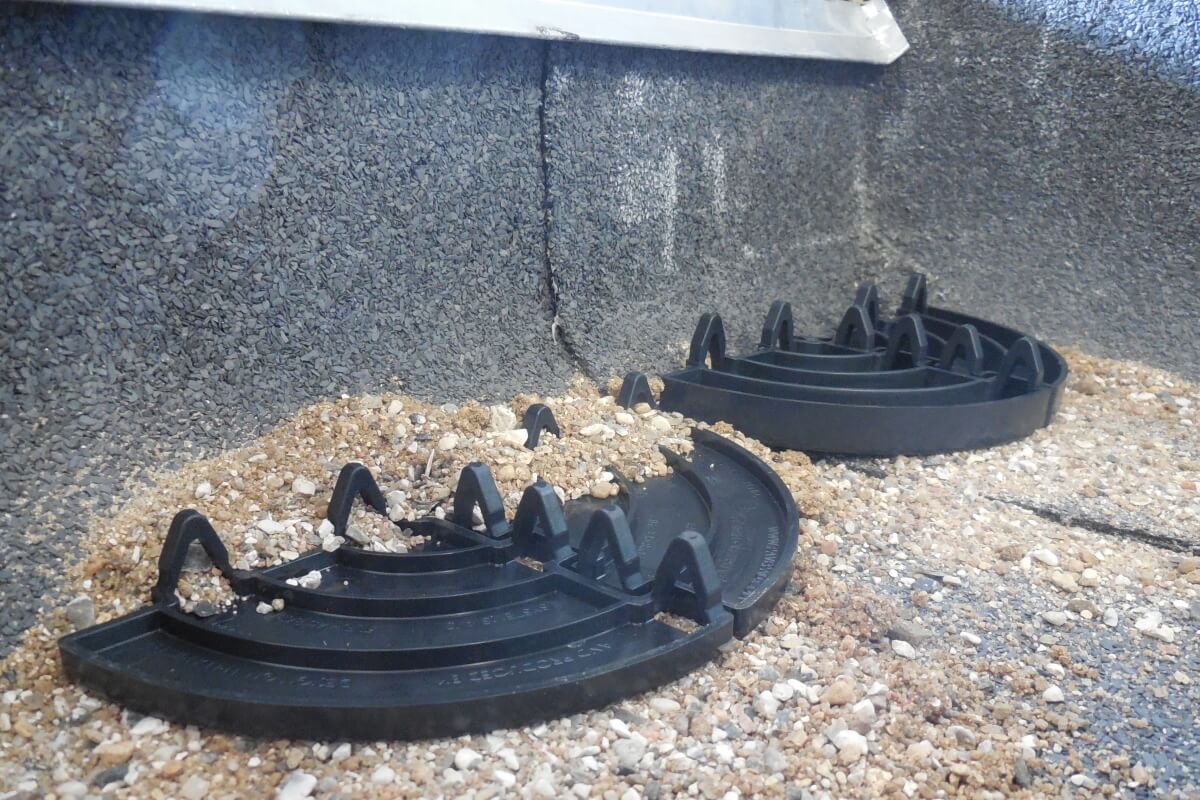
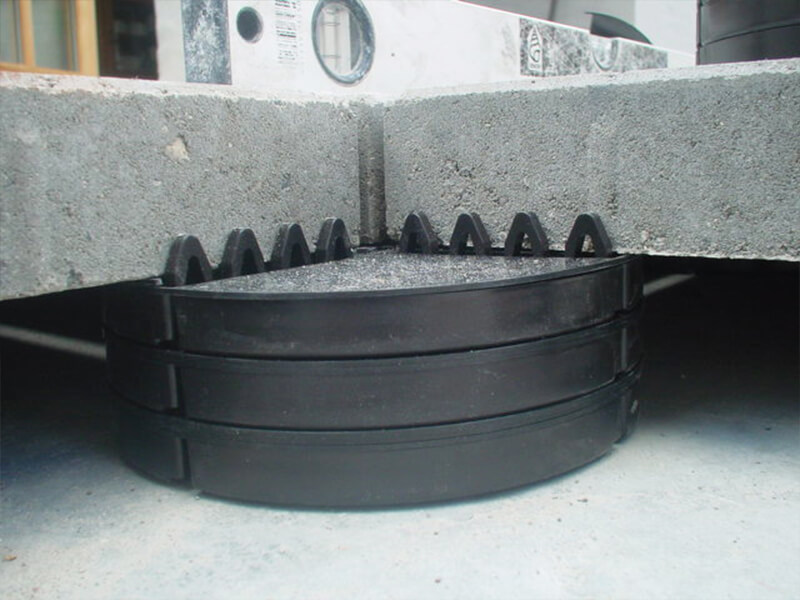
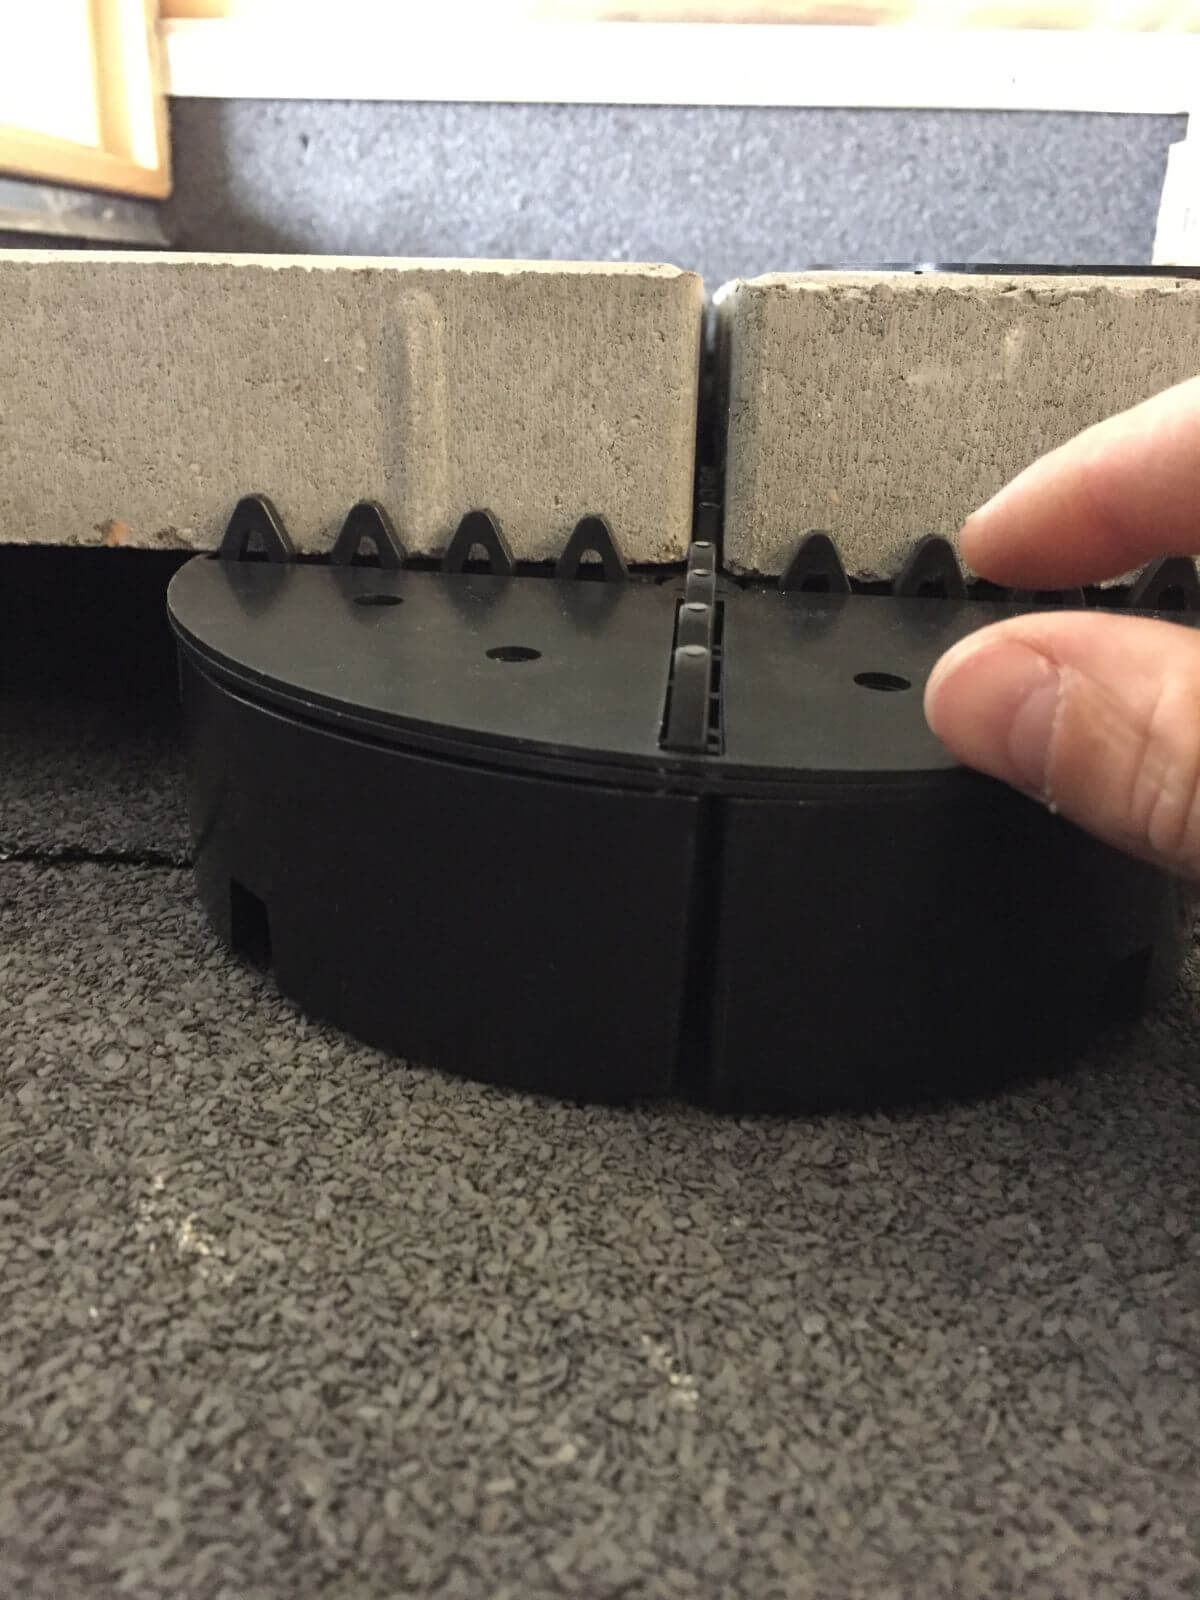
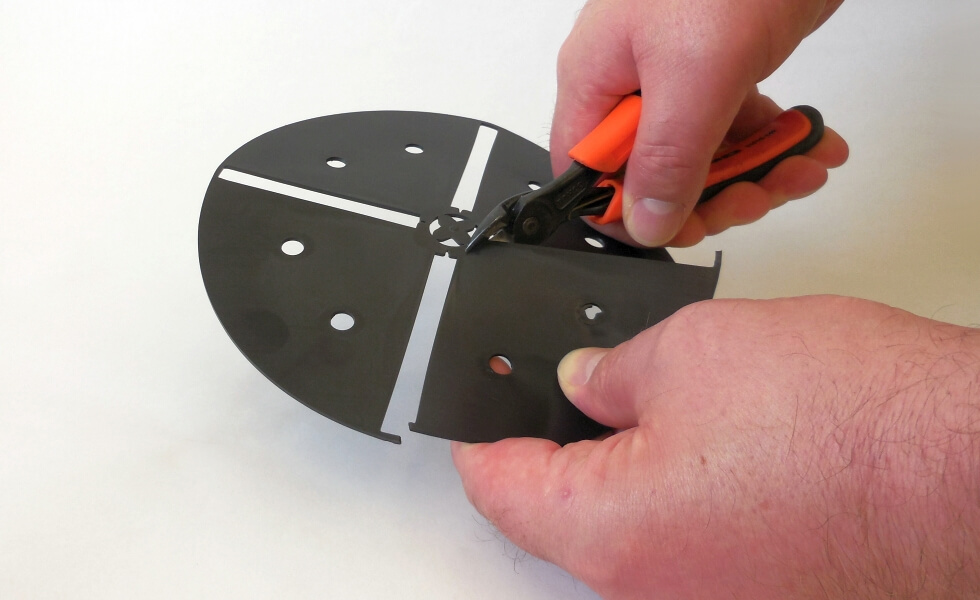
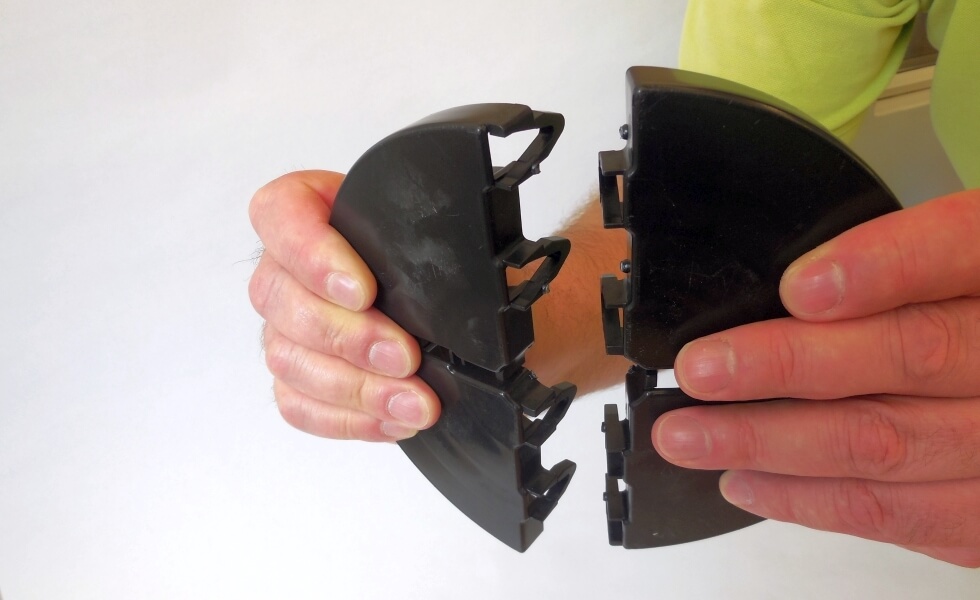
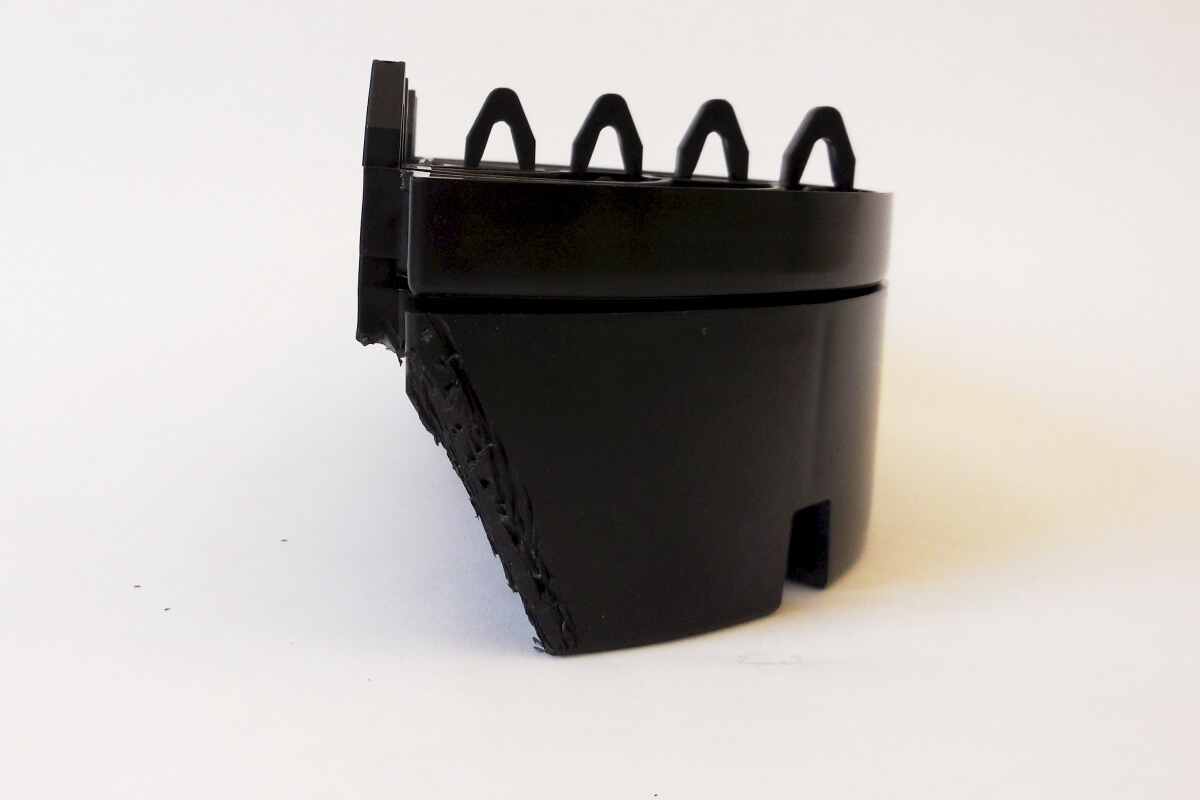
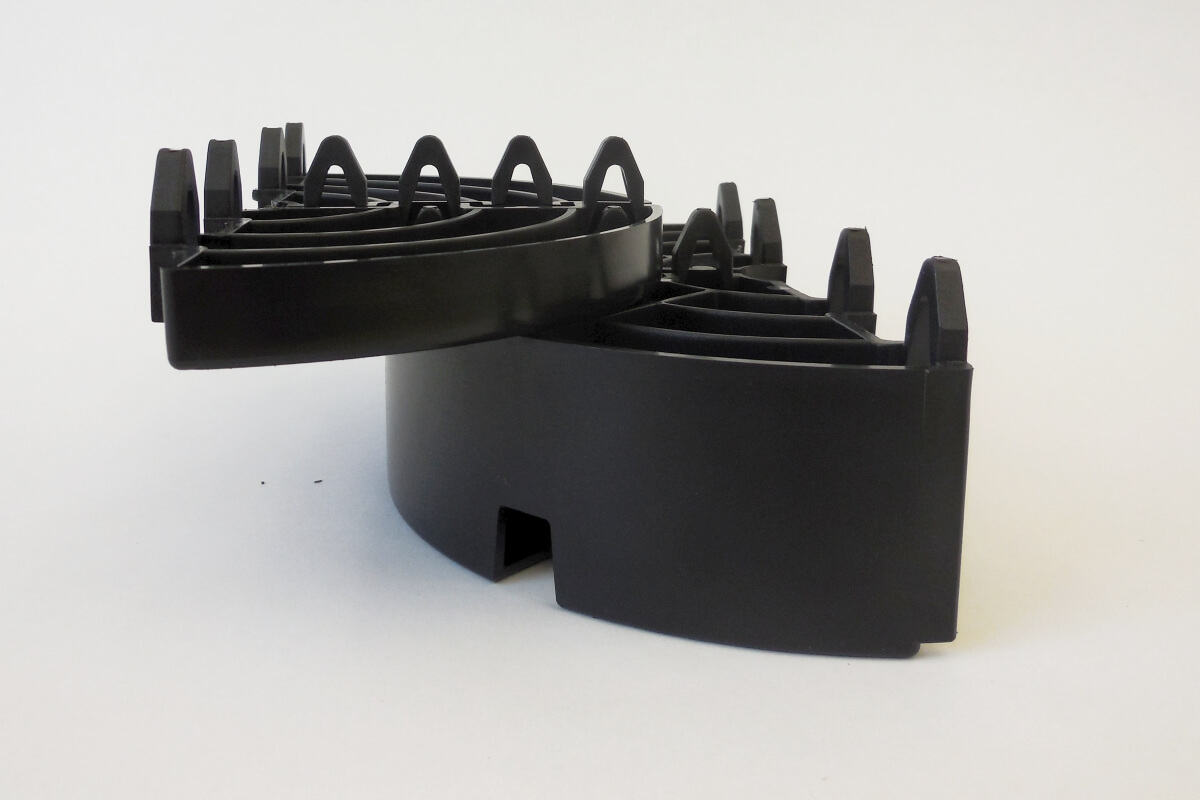
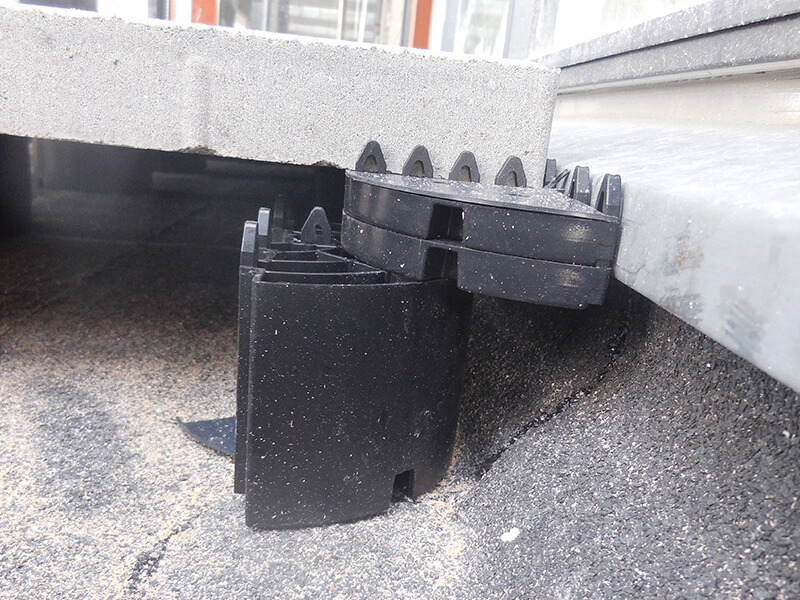
When working at the crown of the wall, you can best secure the substrate by dividing the PavePad into 2 halves, so that the “teeth” face the wall (the teeth are 5 mm apart). If there is no crown molding on your roof, then see this technical video for guidance.
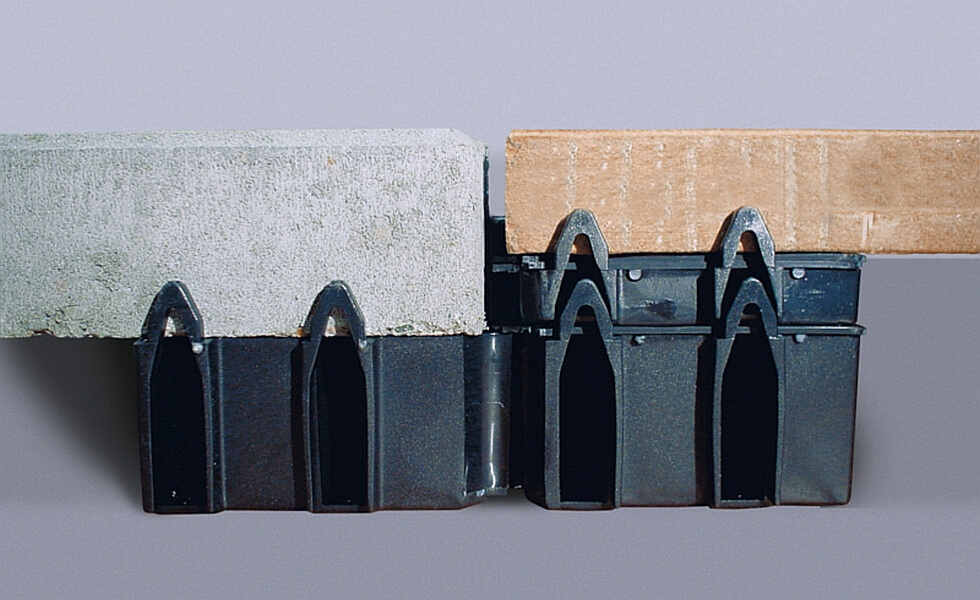
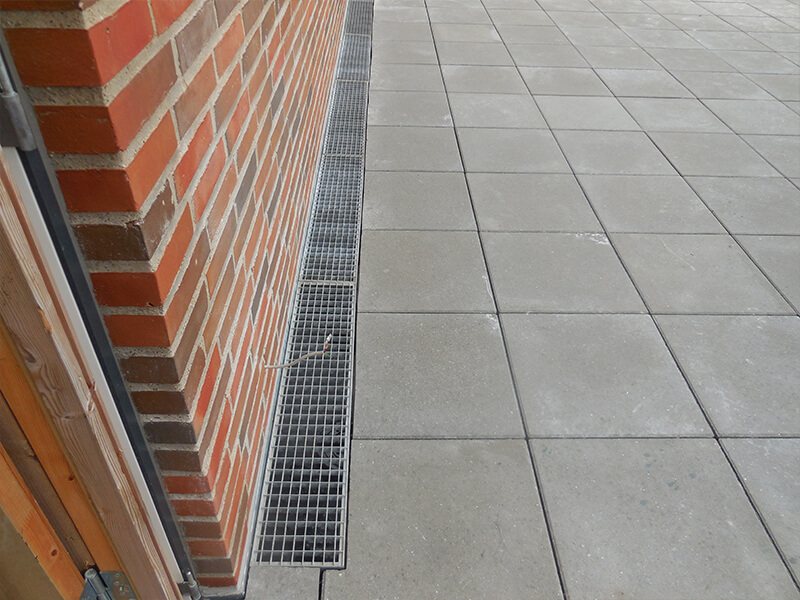
Get as close to the capping and outer edges as possible to avoid gaps. If there are big gaps then adapt your PavePad, so the distance to the wall becomes as small as possible. If you still have gaps, close the gaps from the side or the bottom with gutter guards. This way, you avoid dirt and leaves gathering under your deck. Basically: Either customize the tiles/planks or customize the PavePad to the surroundings.
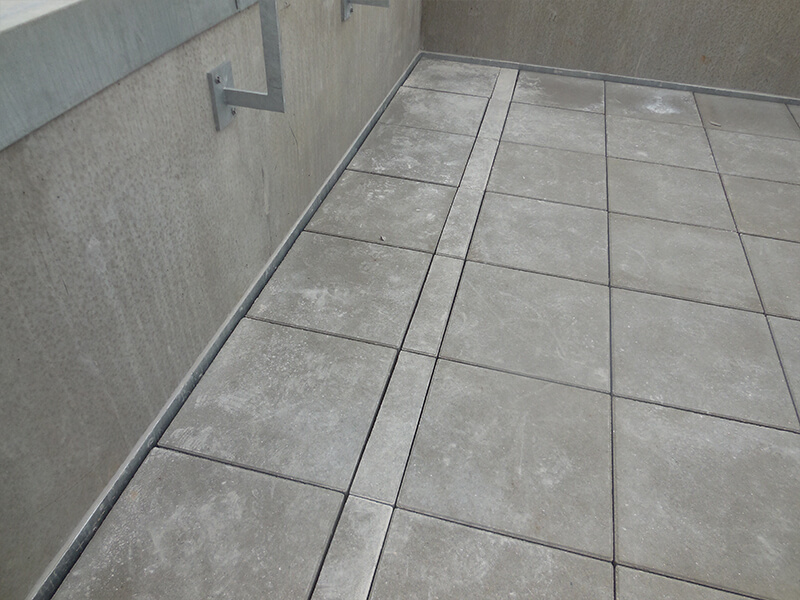
As far as possible, avoid cuts in the outermost row, push them into the second row. It goes without saying – a smaller surface is lighter, more unstable and more prone to buckling under external loads. Ask yourself “where will I enjoy the view on my roof terrace?” It’s often standing along the edge with your arms on the railing. Therefore, the outer edges must be strong and stable.
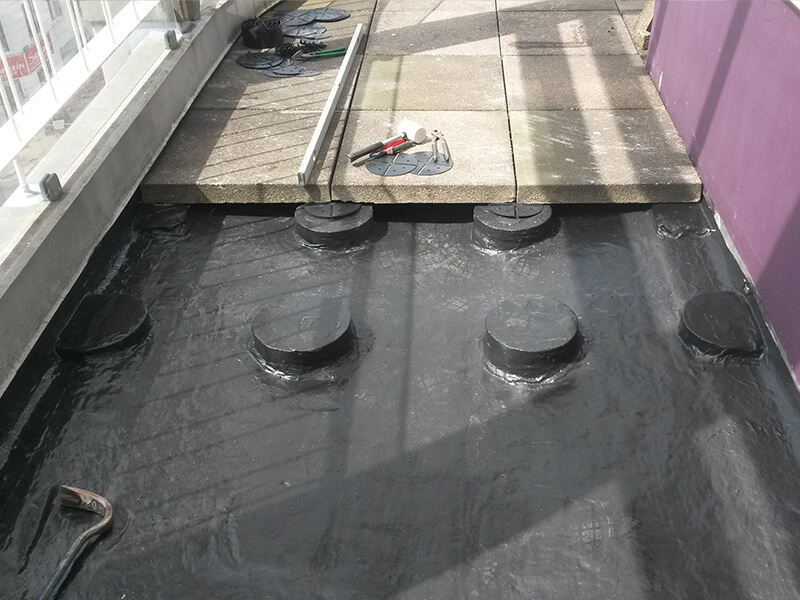
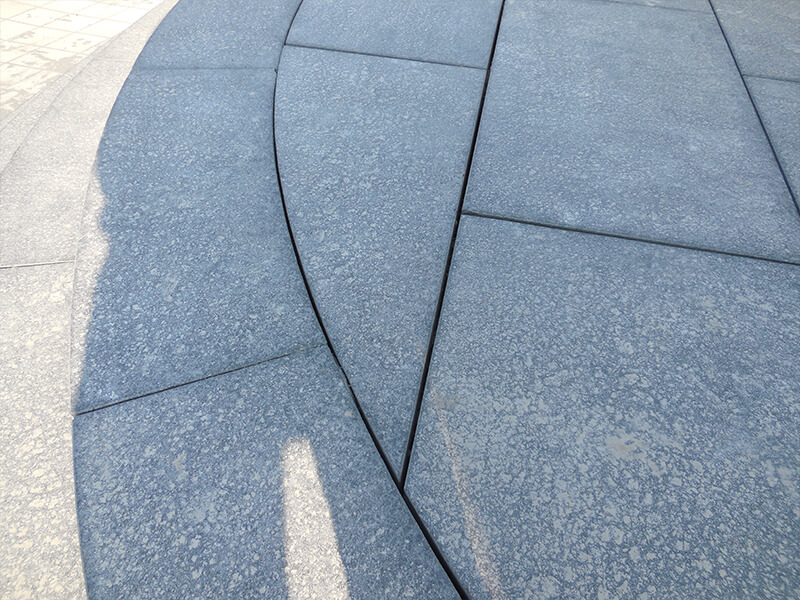
Make it easy to find drains for future users. Over time, some dirt may accumulate under the coating. Make it possible to find drains for inspection by using metal grating, or a different color or type of stones. Also, do not compromise on the minimum padding height: PavePad 15 mm, so the drain is accessible.
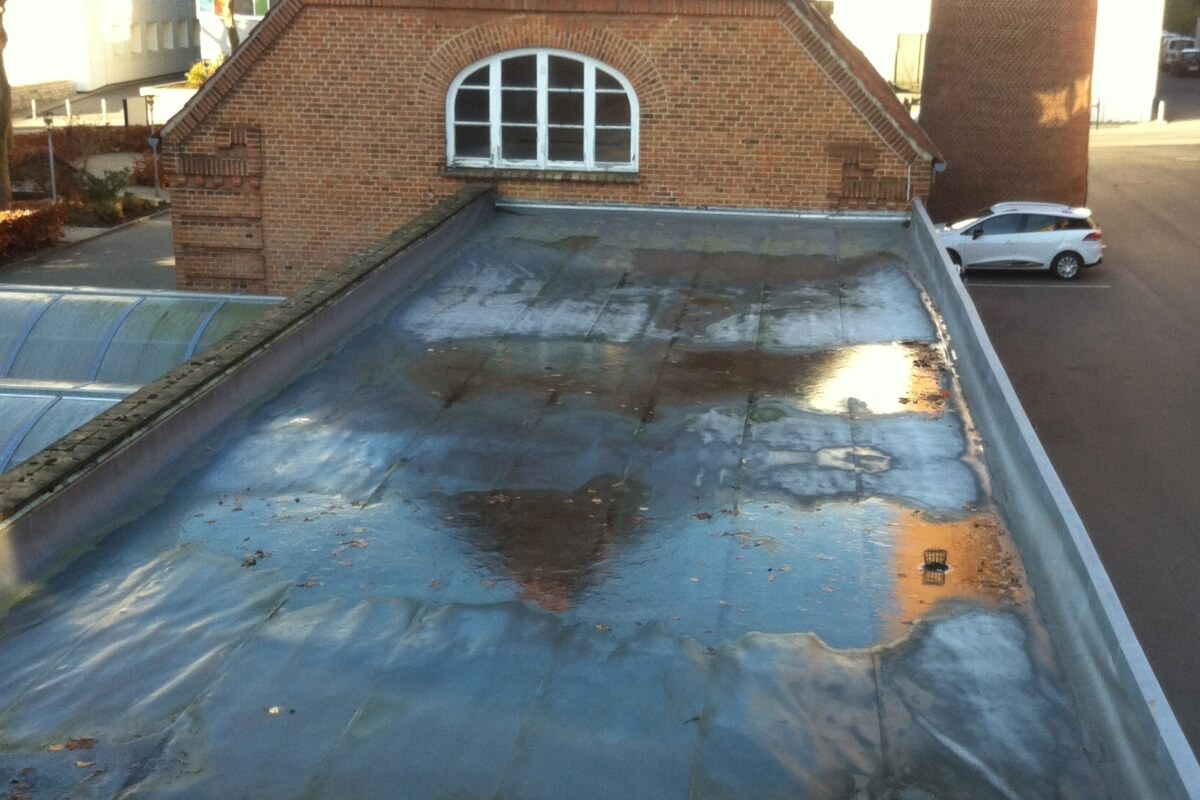
Some roof constructions are better for establishing a terrace on than others. The firmer the surface, the less it yields to weight during construction. A terrace directly on insulation material, e.g. Rockwool flexi batts, will, therefore, provide challenges and more adjustments as it is exposed to weight, than, for example, a concrete deck. The insulation material is given on the basis of weight influence, which is almost impossible to take into account, as it will vary from roof to roof. As a general rule, however, it provides an additional need for stacking the PavePads for stability.
In such cases, we recommend waterproof plywood be placed on top of the insulation layers, under the membrane, to distribute the weight. This achieves extra durability and strength in the construction, with minimal costs as a result. It is the owner of the building’s responsibility to have the necessary engineering calculations made, to determine the load-bearing capacity of the roof, or to take the necessary measures to ensure that the roof is suitable for a roof terrace.
Read more about PavePads quality and material here.
